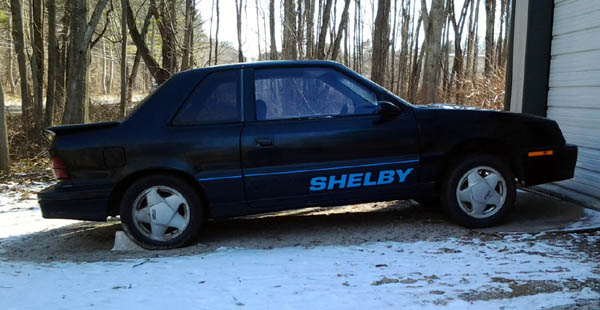
The CSX 561 (2016)
I'm always on the lookout for parts for my CSX; The dash is a little warped, the a-pillars are chalky, etc. My friend Nick decided to put his CSX up for sale at the end of 2015 and the ad caught my attention. Nick had owned the car since 1993 and had been sitting since 1999 and needed to downsize. He had started to take the car apart for parts sale when I made him an offer for the whole car as I had come up with a plan to save it as the body is in pretty good shape.
I would swap some parts to my car and then give the car to my boys as one of their first big projects. The car is missing its motor and transmission and I have a few of them floating about along with some front seats from a Daytona...
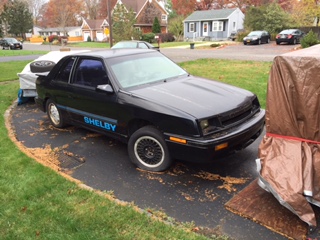
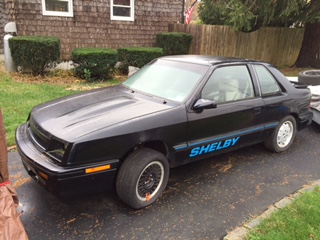
The '87 CSX 561 as it sat at Nicks.
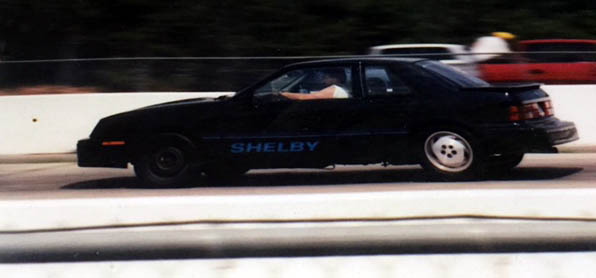
CSX 561 going down the West Hampton track in Long Island in 1998. The car ran 14.8@99mph on drag radials with just a stage II MP computer.
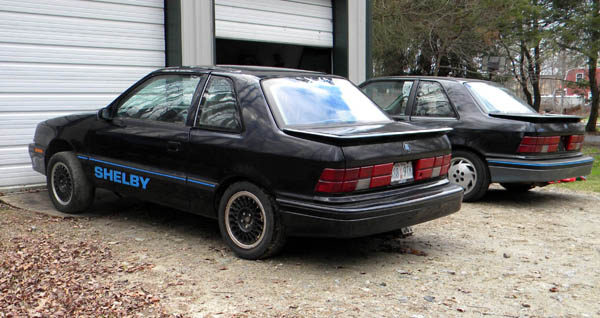
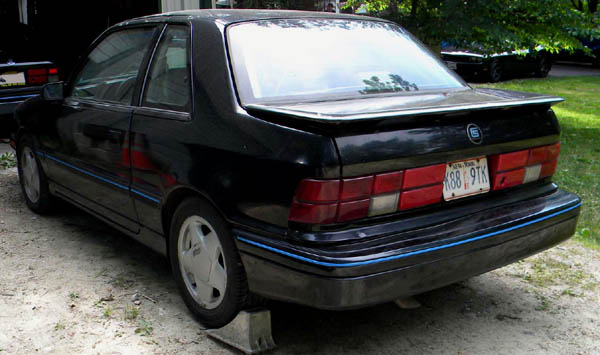
Home with it's brother #193.
The car as it sat is missing a motor and trans, only has one seat, no logic module and is missing a few other odds and ends. But it does have the later model double pivot k-member and rack along with big brakes up front and most of its Shelby badges. Nick generously donated a 555 manual transmission, an exhaust system, a clutch, a set of good tires and some other odds and ends.
I have extra parts left over
from getting my own CSX on the road plus a barn full of stuff, we should be able
to get the car on the road without spending a huge fortune. I have a spare ES
rear seat and a set of buckets from the Daytona. The Daytona will also supply a
bunch of nuts, bolts, brackets and other odds and ends that always seem to crop
up on projects like this.
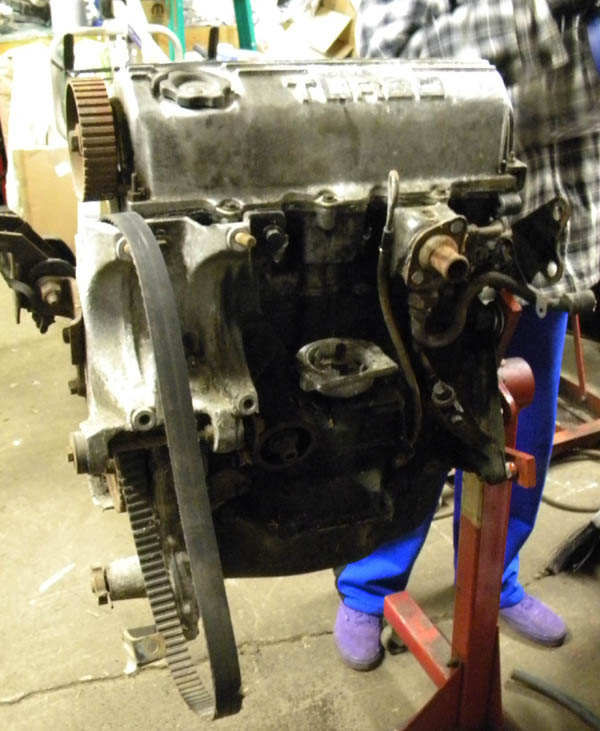
The "bullet" under the hood is going to be an 86 Turbo I long block I stripped from a forgotten car long ago. I actually had it under a tarp the last few years as I was going to strip it for parts but never got around to it! It was a good pull but with light weight rods nothing I was going to use. We stuck it on the engine stand and the boys pulled it down to the short block. Everything looks to be in decent shape so were going to re-seal it back up, toss on an 88-89 Turbo II intake and hang a 89-91 mitsu turbo that I have from some other engine. Accessories will come off an '88 Daytona Shelby I picked up for parts (its a rot bomb.)
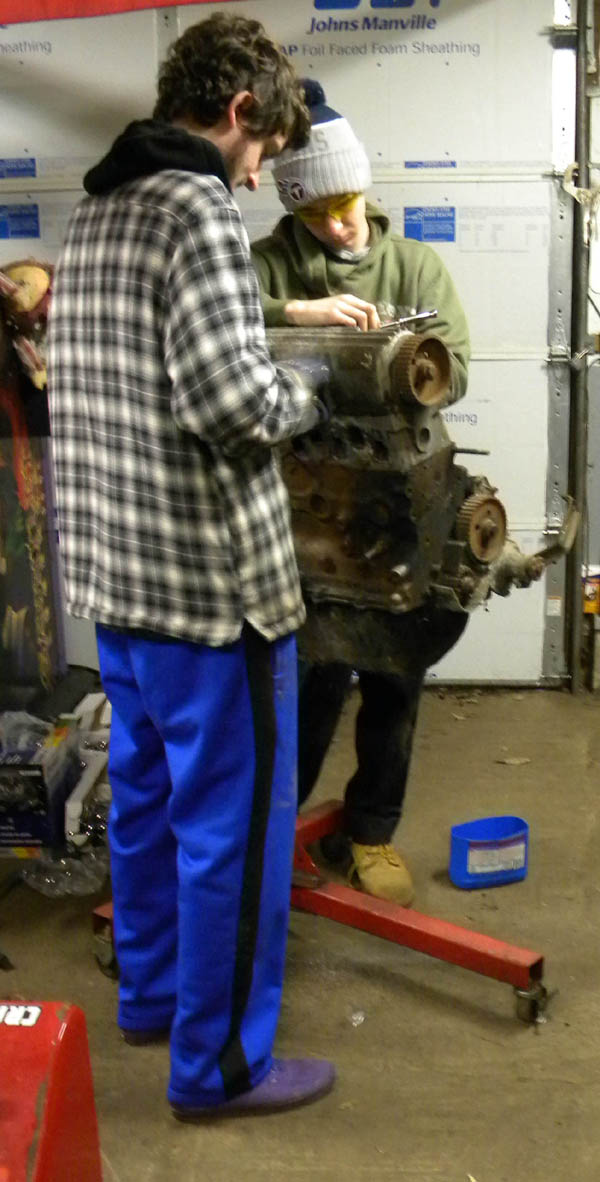
The boys hard at work pulling the engine down.

Slow but sure progress.
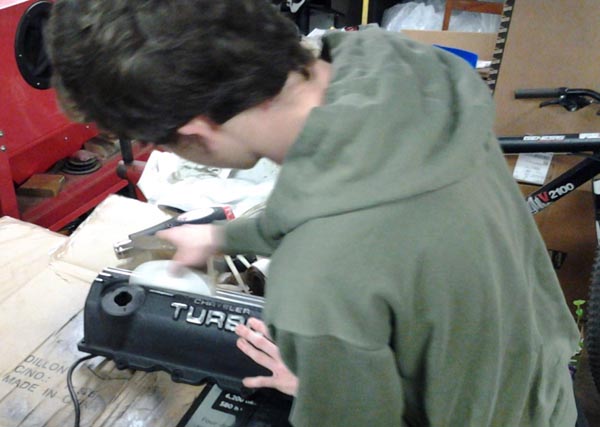
Kyle tuning up a one piece valve cover.
We got the tires mounted on 15" pumpers.
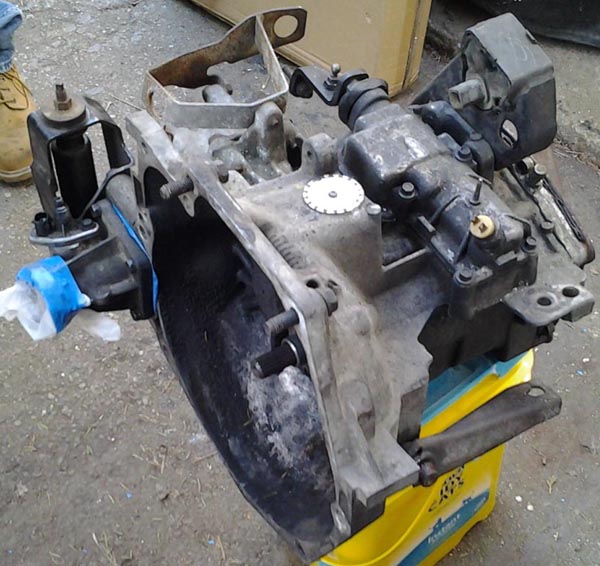
Resealed transaxle going in!
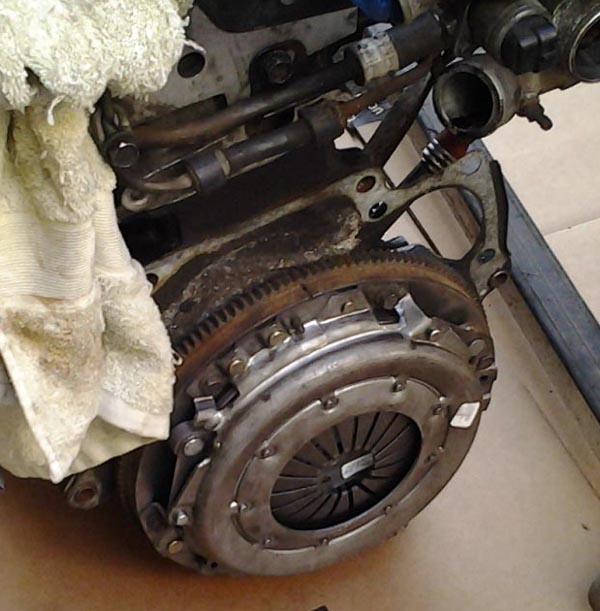
Brute Force clutch
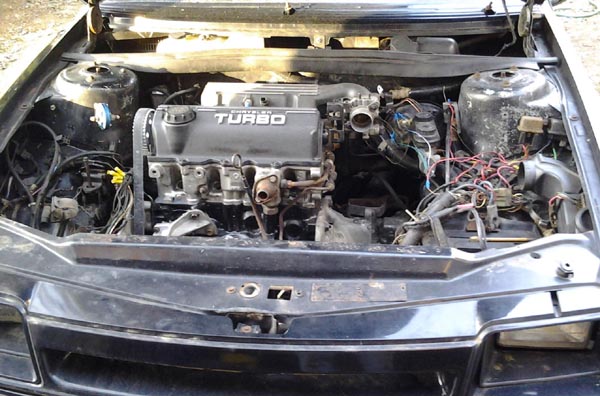
And the drivetrain is in! I had a lot of wiring to repair!
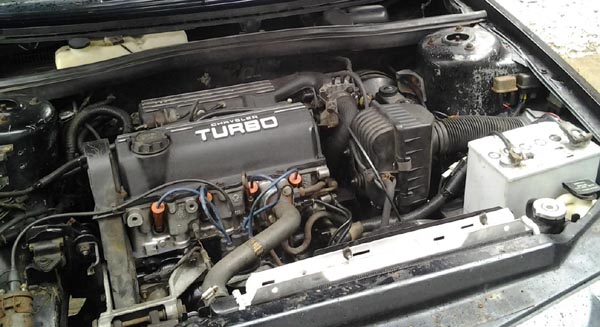
Engine bay all functional as of the end of March.
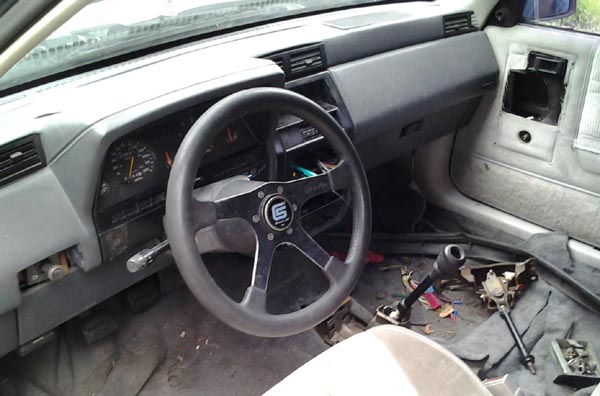
Interior is still tough but improved from when we picked it up.
May 2016 Update
I found a Sony CD player radio with DIN adapter that I forgot about in my stash and gave it to Kyle, adjusted the base idle screw a half turn and repaired the rear package shelf. The power steering line repair didn't hold so ended up ordering a new line from Rock Auto.. Kyle pull the back tires and brakes on the car, cleaned and packed the bearings, replaced the seals, replaced the shocks (shot) we installed a low mile set that were off my '89 Shelby Daytona and had been squirreled away and balanced the rear tires. Everything out back is now squared up, looks the the bearing noise we heard was is up front. At least the 89 bearings are easy to swap out.
June 2016 Update
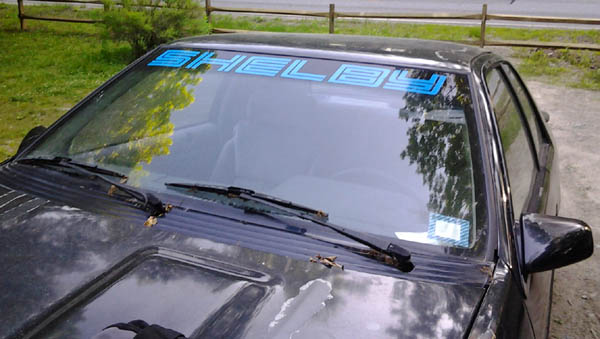
Installed a generic Shelby banner off Ebay
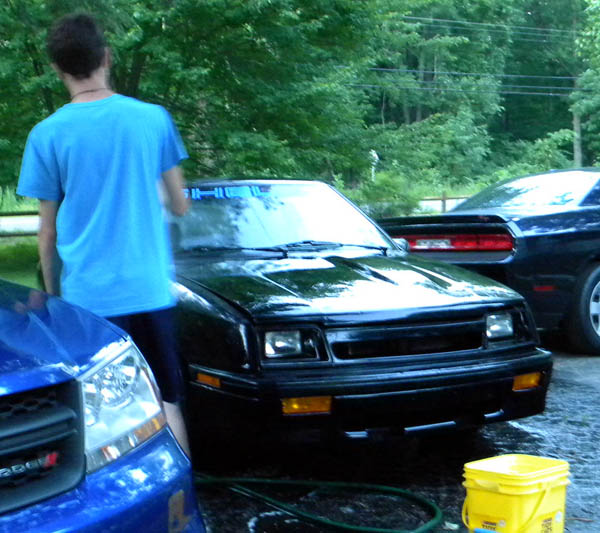
Car getting some scrubbing.
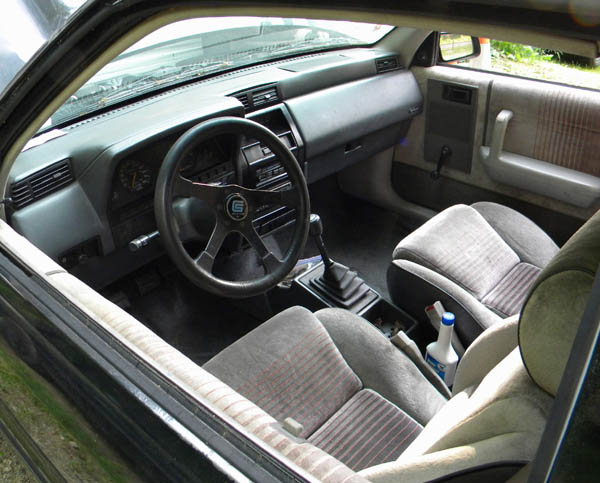
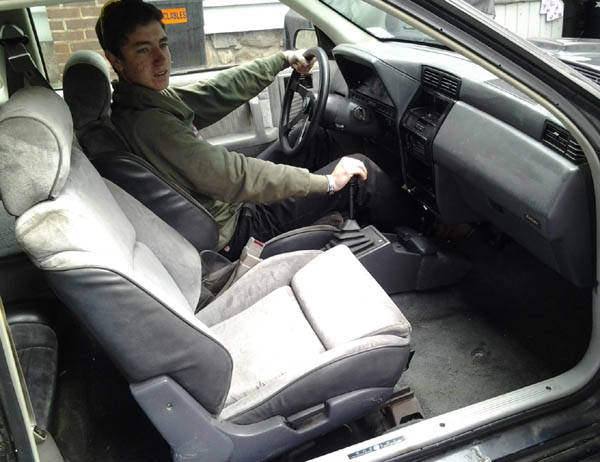
Interior is finally assembled.
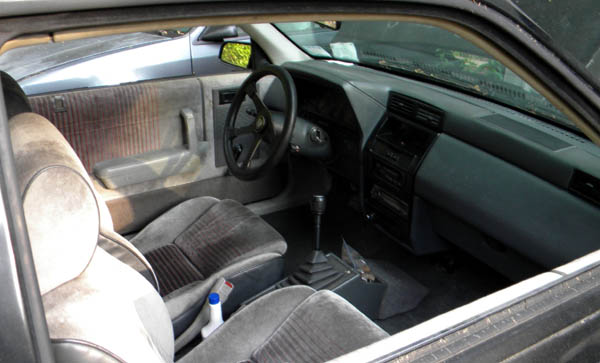
Passenger side view.
June 2016 work list:
Replaced both front wheel bearings, replaced drivers front caliper, cut one coil off each front spring (they were 89 Lebaron GTC springs and made the car sit to high) aligned front end (toe off 2.5"), replaced power steering pressure hose, balanced the remaining tires, replaced the tie rod end nuts (wrong ones were installed) replaced the burned out dash bulbs, replaced the dash cluster circuit board, wired the radio, replaced the front speakers, repaired or replaced the wiring for the front speakers, replaced the door panels and front seats with 89+ ES units, installed rear seat belts, rounded up a spare tire, jack and tire iron, flushed the cooling system and added anti-freeze, replaced the windshield washer tank sensor, fixed the rear light sockets, replaced a few bulbs, replaced the fan relay connector, glued the mirror back on and replaced a bad CV joint clamp.
Whew.
Road test went very well but the right front caliper is now acting wonky so I ordered a replacement. Car runs well, no rattles, tracks nice down the road and everything generally functions.
![]()
At this point we are waiting for a R/F caliper, sway bar bushings, a new radio antenna, have to re-hang the air dam on the drivers side (I have to make a bracket) re-paint the center door trim and tweak the tie rod ends to center the steering wheel.
July 2016 update:
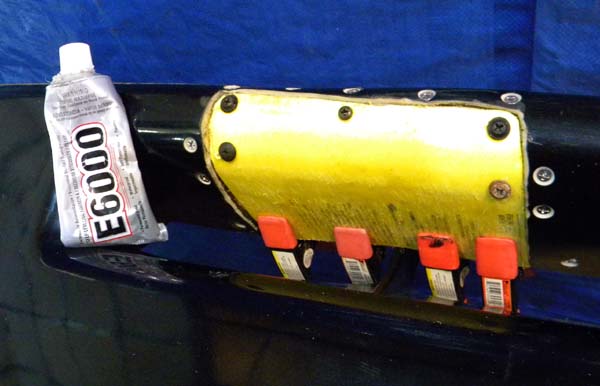
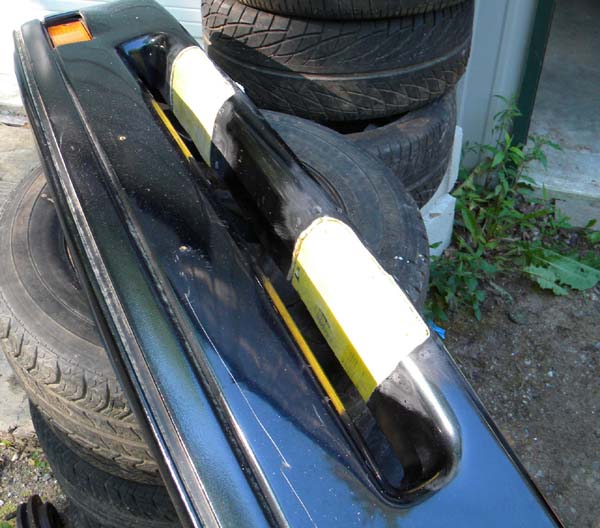
I amused myself for a few days fixing the front air dam. Now to be honest the holes a prior owner cut in the air dam for fog lights doesn't bother Kyle but have been bugging me.. so this part of the project is all me. I was thinking about patching the holes for several weeks with sheet aluminum, plastic recovered from a broken bumper cover or some other filler when I happened to notice that the scoop-able cat litter containers Faith uses had just the right curvature... The wheels started turning faster...
So yesterday I cut out a section to act as a backing and secured it to the cover with countersunk stainless fasteners and E6000. Now let me tell you about E6000. I discovered it while building proton packs and it is the smelliest but most flexible adhesive I have ever used and it sticks to EVERYTHING. So between the stainless screws and E6000 that piece isn't going anywhere.
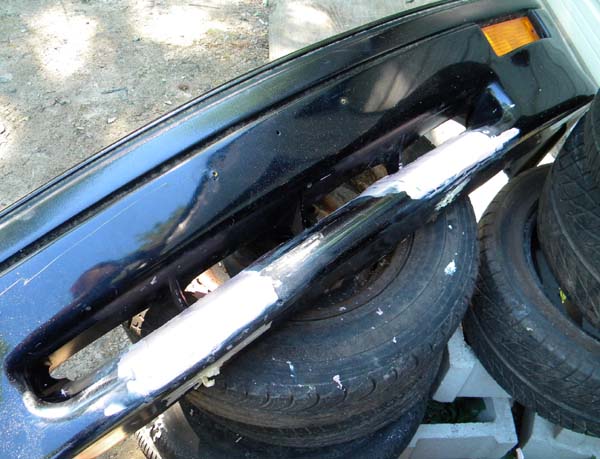
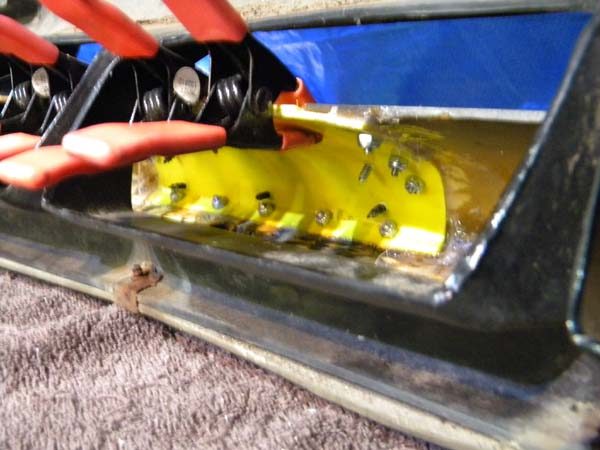
After letting it sit overnight to cure I made a filler piece that fits in the area that was cut out. More E6000. Clamp and screw in place. When dry remove the holding screws, sand and skim coat with flexible body filler. While that is drying I'm going to spray the backside with expanding foam to add some rigidity to keep the area from cracking. I have a piece of 1/8" aluminum bar stock I'm going to slip in there at the same time
.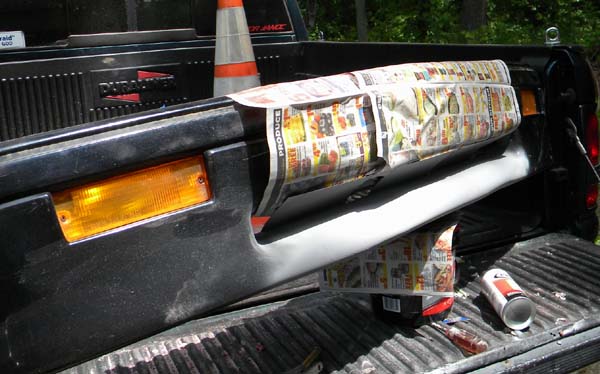
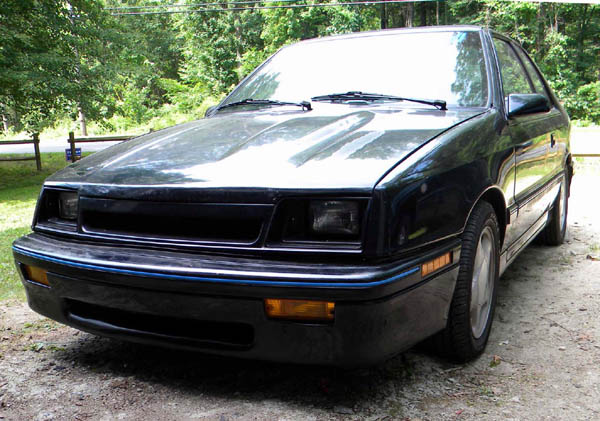
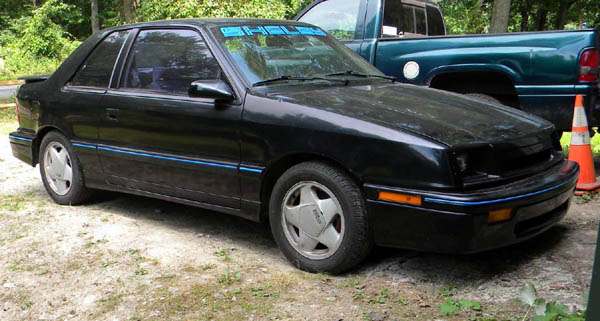
A few coats of primer, sanding to knock everything down... a few coats of SEM black paint and here we are... This is mostly just an experiment to see how it comes out, at worst it will still be considerable better than 2 large openings in the air dam. The R/F caliper was also replaced, installed a hidden radio antenna and plugged the fender antenna hole, adjusted the steering so the wheel was center, hung the driver side air dams and moved onto the last bit of business...
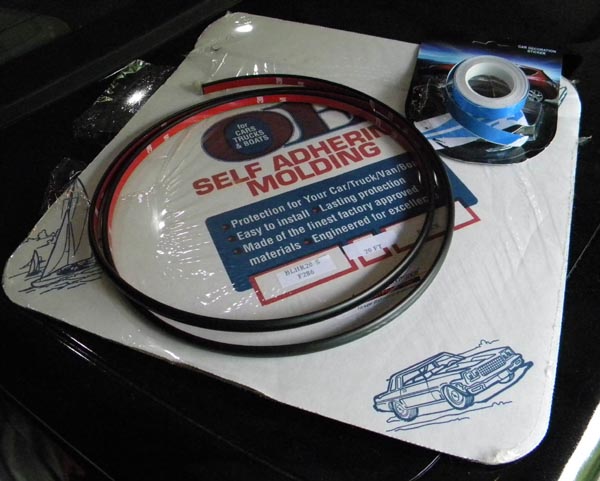
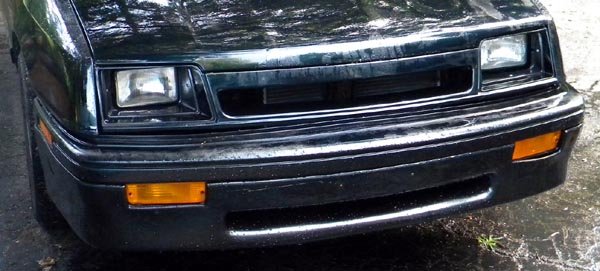
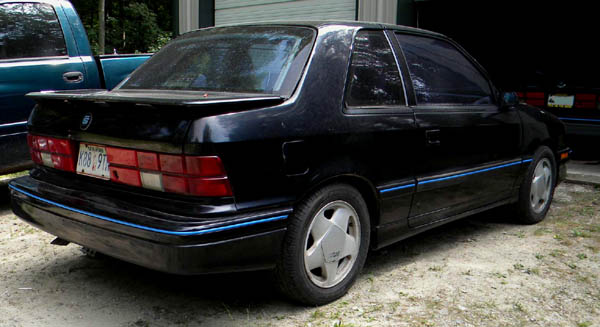
CSX 561 had its bumper covers replaced at one time with aftermarket units which were missing the center trim. The spots were there but it was never installed. After careful measuring I ordered 20 feet of black half round 3/8 trim protection from Ebay along with 12 mm blue trim tape from China. The tape arrived today and after a quick wipe down with degreaser installed the half round trim and then the blue tape. Installation was a snap and I think it sets off the car great, perfect match too.
As of the end of July 2016 the car is turn key and is ready to go.. It could use some polish from this point (it has no headliner fabric and my son doesn't seem to be showing any interest in putting one in) but if he changes his mind I'll update the page of course. Thanks for following the project! Gary